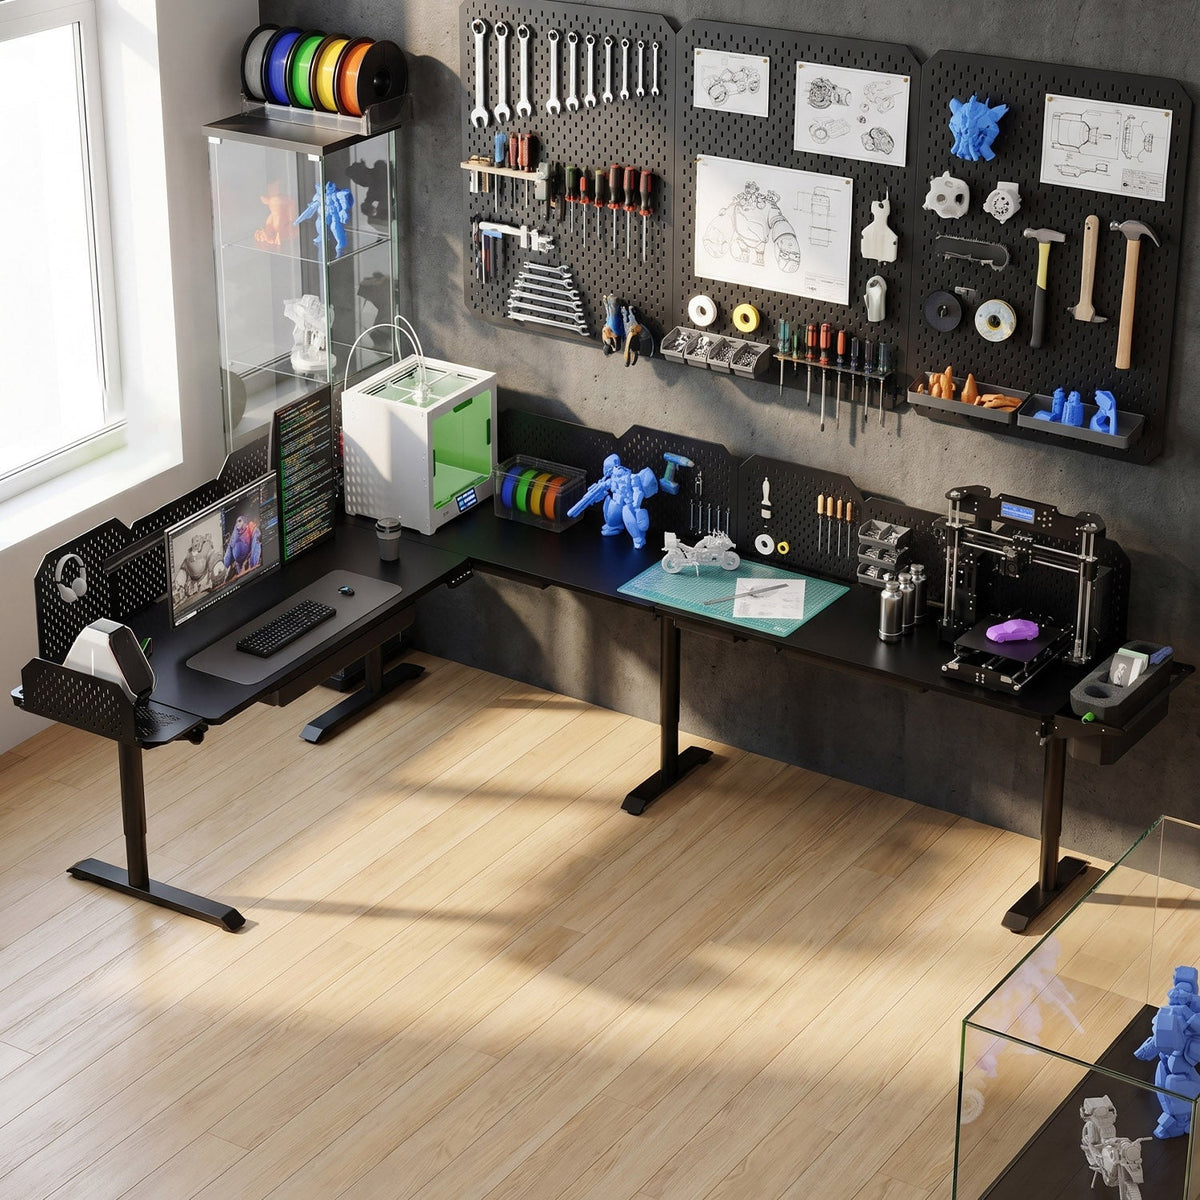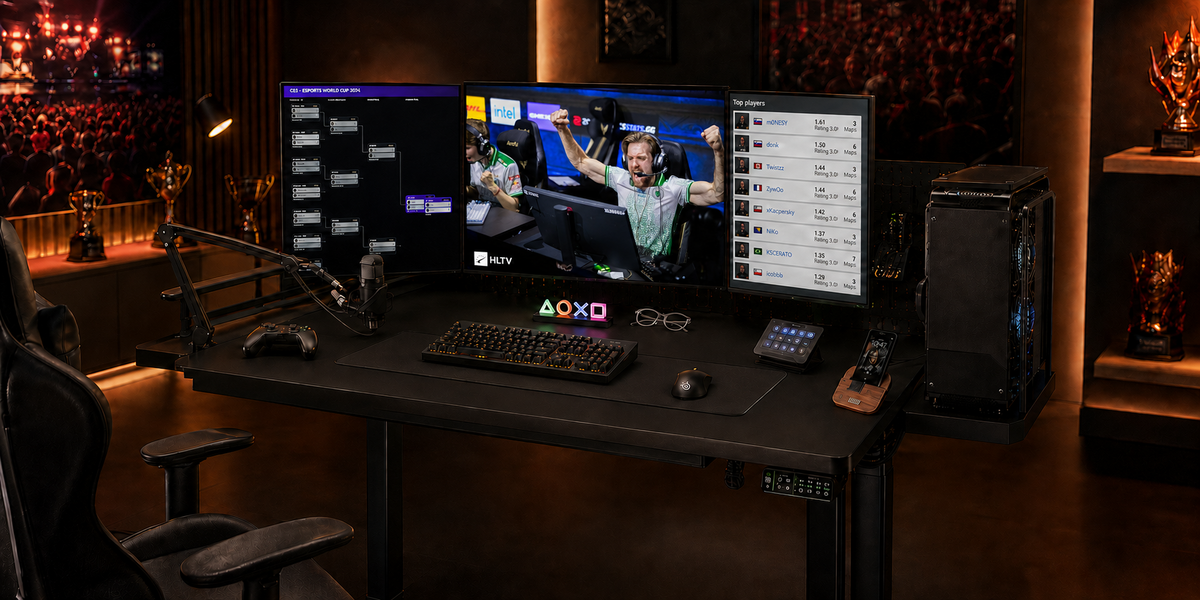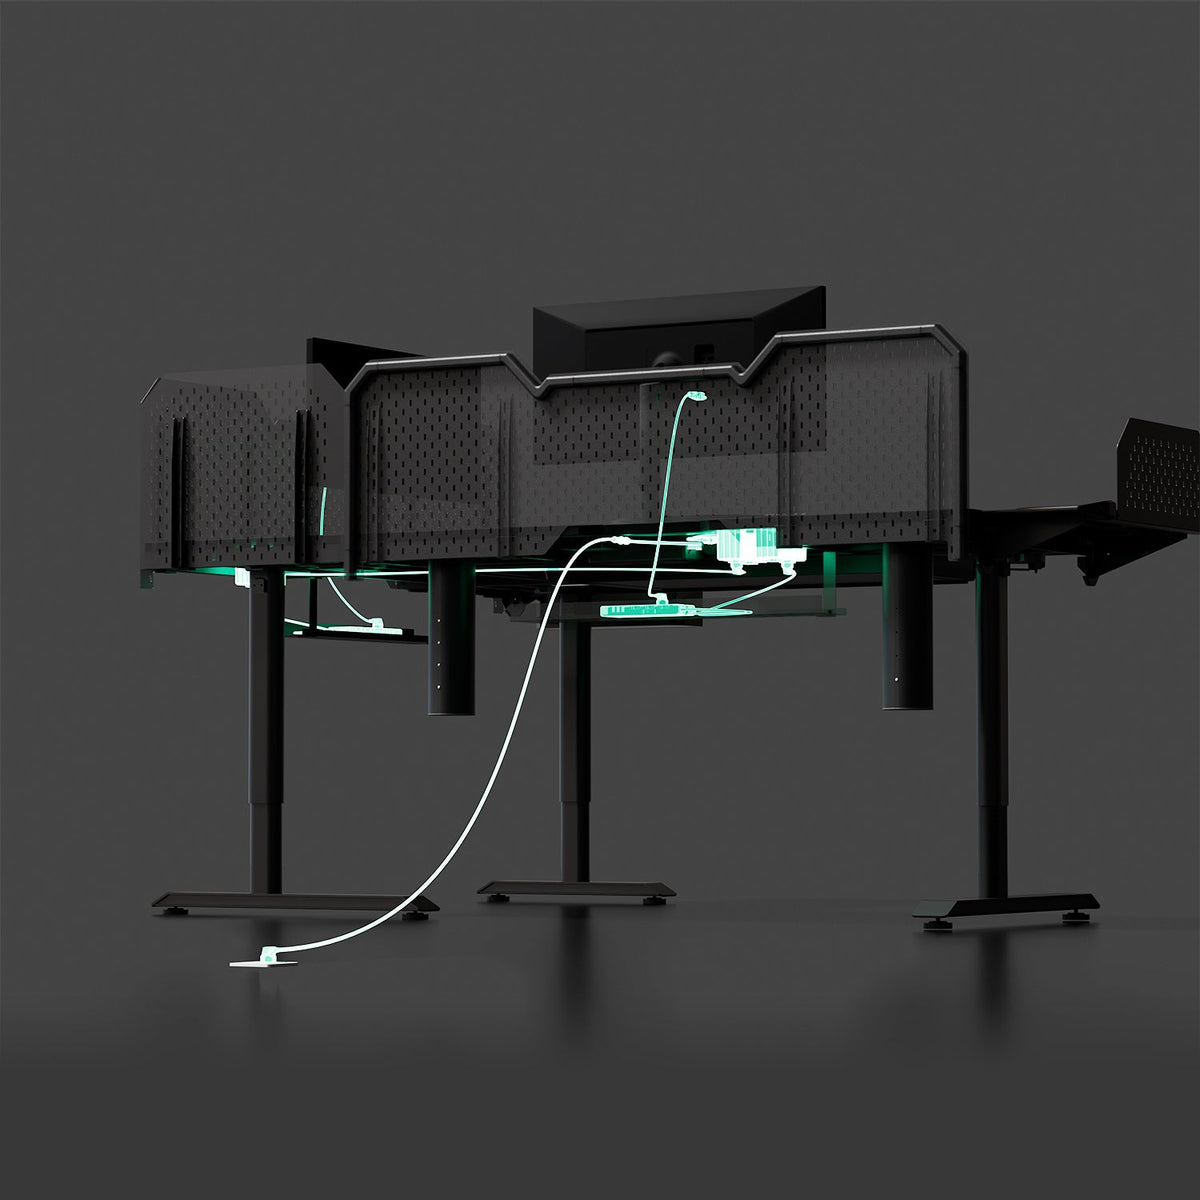
An L-shaped standing desk has two work surfaces, so it also has two cable routes. The long leg serves the monitor and keyboard, while the return handles chargers and peripherals. Those cables need enough room to move with the desk from 30.3 to 47.2 inches without catching. Plan the route before you start, and you will not have to keep crawling under the desk later. This guide uses a CreatorOne L-Shape with three motors and a 760 lb static rating, but the approach works for any L-shaped desk.

Why L-shaped desks take more cable planning
- Two separate runs: The long leg and return each collect their own cables.
- A shared corner: Most cables meet there, even though it can be the hardest area to reach.
- A moving work surface: A fixed cable tie can become a pull point when the desk rises.
Step 1: Choose the junction first
Before adding ties or trays, decide where the power strip and computer will sit. The corner or return wing is usually the shortest route for both cable runs. Reserve the long leg for cables entering the workspace.
- Place the power strip and PC tower at the corner or on the return.
- Run the incoming power lead down the outside leg instead of across the workspace.
Step 2: Separate the two runs
Keep each wing in its own cable bundle. When the two routes mix, an L-shaped desk quickly becomes hard to manage.
- Long leg bundle: monitor video cable, keyboard and mouse cables, and webcam.
- Return bundle: charger, printer, drawing tablet, and USB hub.
- Route both bundles along the back edge so they stay out of your knee space.
Step 3: Add trays and hanging points
Keep cables off the floor and the desktop. An under-desk tray and a pegboard, from $149, keep the bundle out of sight while leaving accessories easy to reach.
- Under-desk tray: Holds the power strip and extra cable length.
- Pegboard, metal from $149 or expansion from $199: Holds headphones, dongles, and coiled cables off the desktop.
- Adhesive cable clips on the frame: Guide each run along the desk leg.

Step 4: Leave slack for the full height range
This is easy to miss. The frame travels from 30.3 to 47.2 inches at 35 mm/s, and the CreatorOne stores four presets. Each time the desk moves, the cables follow the same path.
- Leave a service loop at the corner and near the PC so cables bend instead of pulling.
- Use loose zip ties. Tight ties can wear into cable jackets over time.
- Test the desk at its full standing height. No cable should pull tight or touch the floor.
Step 5: Label the cables
Add a small label to both ends of each cable before securing it. When you replace a monitor or add a device, you can disconnect the right cable without tracing the entire run.
FAQ
- How many cable trays does an L-shaped desk need? One tray at the corner usually handles both runs, though the long leg may need a second short tray.
- Will the cables pull when the desk rises? They can if the slack is too tight. Leave a loop so the cable can move with the desk.
- Is a wireless setup worth it? Wireless keyboard and mouse connections help, but monitors and power still need cables, so plan their routes as well.
- Does a pegboard help with cables? It helps organize accessories. Pair it with a cable tray rather than using it as a replacement.
Organize your L-shaped desk
The CreatorOne L-Shape gives you a corner and return wing where both cable runs can stay out of sight. Start with the frame, then add a cable tray and pegboard to keep the setup organized.
Shop the CreatorOne L-Shape Standing Desk→
Keep reading